Choosing the right shower tray adhesive is a technical decision that directly influences the stability, watertightness, and service life of the installation. In a bathroom renovation, especially in the French market, where the installer works under demanding criteria for levelling, substrate, sealing, and technical compliance, simply "gluing" the tray is not enough: it is essential to ensure that the tray-substrate-drainage assembly functions as a stable system.
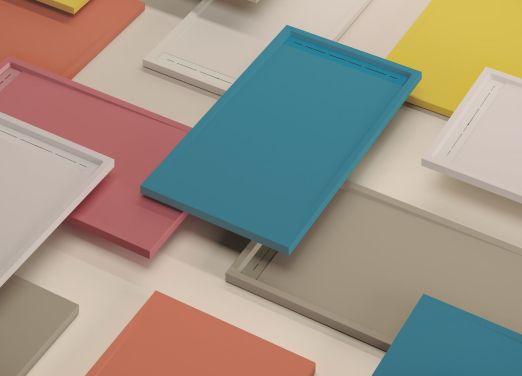
In the case of mcbath shower trays, the correct choice of adhesive must complement the performance of the material itself. mcbath develops shower trays in Acrystone®, a technology based on mineral fillers and recycled polyester resins, coated with a technical outer layer designed to provide strength, lightness, and durability. In the French range, mcbath presents its receveurs as extra-flat, resistant, and lightweight solutions featuring Acrystone® and Acrymold® Solid Surface technology.
Why the choice of adhesive directly influences the service life of the installation
The adhesive is not a secondary element. It is the actual bond between the shower tray and the base supporting it. If that bond is not stable, movements, noise, hollow spots, tension, cracks in joints, or leaks can occur.
For the professional installer, any of these problems can turn into an after-sales issue. Therefore, the resin shower tray adhesive must be chosen according to the substrate, the tray material, the format, the bathroom humidity, and the manufacturer's recommendations.
In Spain, the most common solutions for this type of installation are usually grouped into three families:
- Polyurethane mastics, such as Sikaflex®-11 FC Purform®.
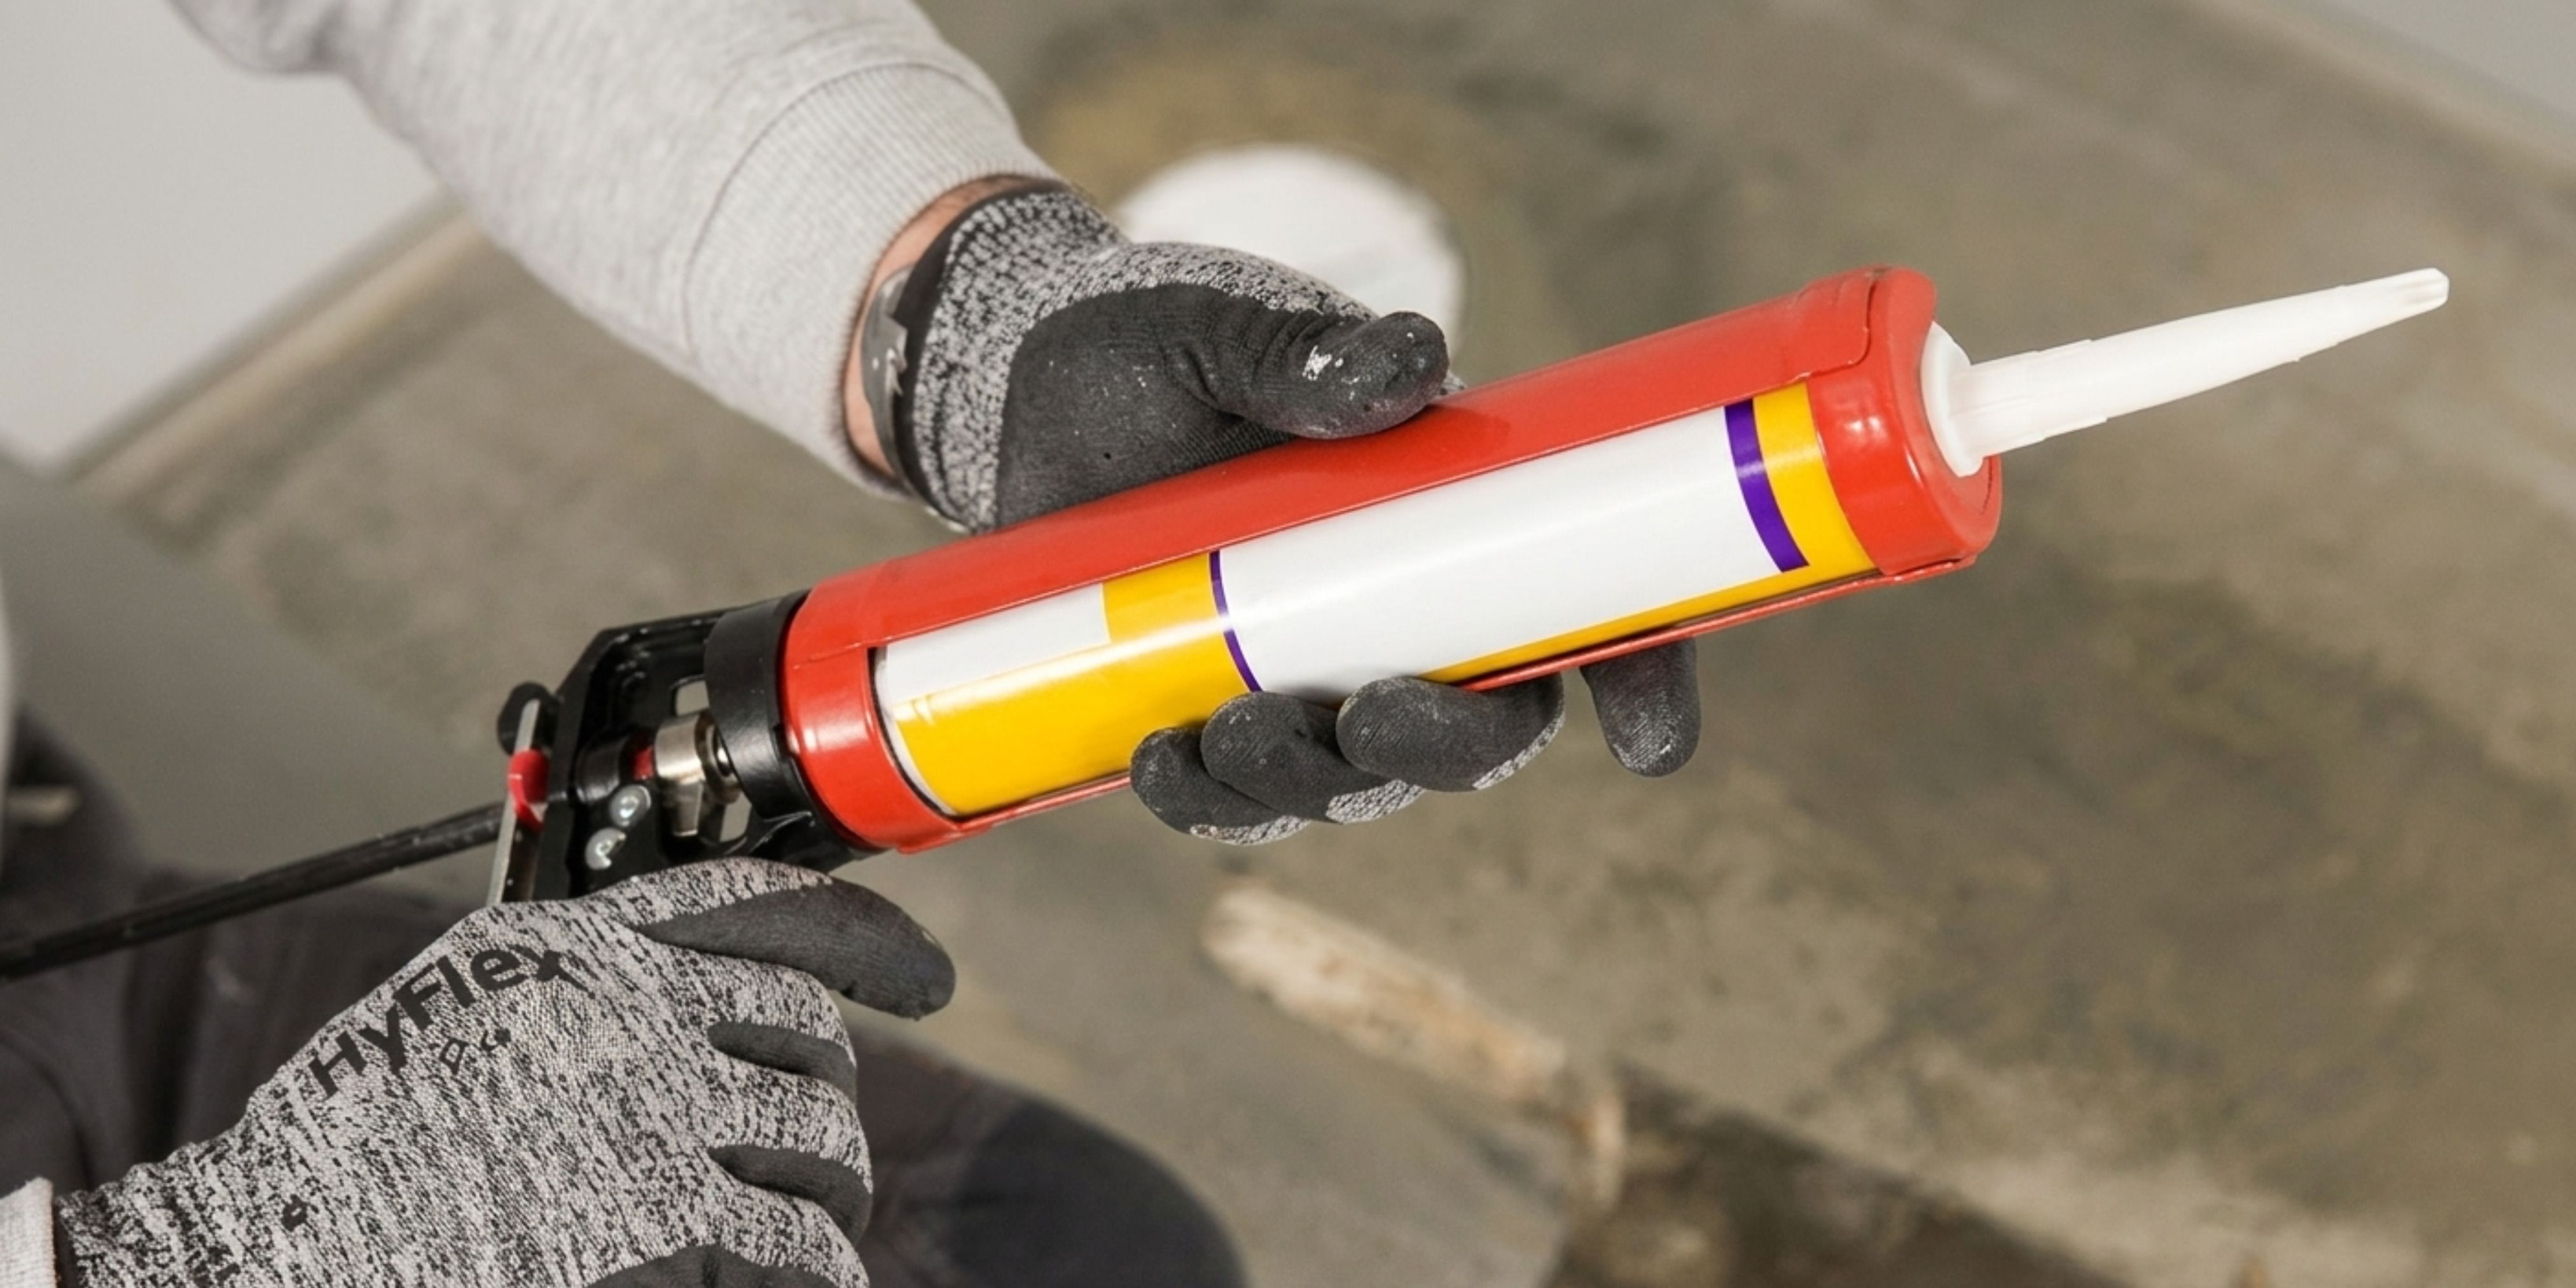
- Hybrid adhesive sealants or MS polymers, such as Mapeflex MS45 or Bostik MSP Turbo.
- Flexible cementitious adhesives C2 S1 / C2 TE S1, when the installation system and the tray manufacturer allow it.
mcbath already indicates in its guide on how to install a resin shower tray that a flexible adhesive applied on a smooth screed can be used, using a zigzag pattern that covers the width and length of the tray. It also mentions as a reference the use of Sikaflex-11 or similar products.
What the installer must consider before selecting the adhesive
Before choosing the shower tray glue, the installer must review three aspects: substrate, drainage, and compatibility.
The substrate must be clean, dry, stable, level, and free of old material residues. When replacing a tray, it is advisable to remove previous mortar, adhesive, or sealant, check the level with an appropriate tool, and correct irregularities before placing the new tray. mcbath recommends cleaning the base, checking the level, and applying self-levelling mortar if the surface is not straight in its guide on how to replace a shower tray step by step.
The drainage must be checked before applying any adhesive. The safest approach is to perform a dry test: place the tray without fixing it, verify the fit, check the position of the valve, and confirm that the drain is at the correct height.
Compatibility is also key. Not all adhesives work for all substrates or all materials. The installer must always consult the adhesive's technical data sheet, the tray manufacturer's instructions, and the actual site conditions.
Types of adhesives and fixing solutions compatible with resin shower trays
For the Spanish market, these are some common solutions a professional installer can find. The final choice must always be validated according to the technical data sheet, substrate, and installation system.
| Solution | Recommended use | Products available in Spain | Technical caution |
| Polyurethane mastic | Elastic fixing on a dry, stable, and level base. Suitable when a strong bond with some movement capacity is required. | Sikaflex®-11 FC Purform® | Apply in regular and well-distributed beads. Respect curing times and humidity conditions. |
| MS Polymer / hybrid adhesive | Flexible bonding on various substrates, especially useful when elasticity and good adhesion in humid environments are required. | Mapeflex MS45, Bostik MSP Turbo | Verify compatibility with resin, substrate, and load. Do not use to compensate for an uneven base. |
| Flexible cementitious adhesive C2 S1 / C2 TE S1 | Can be used as a support bed on regular mineral substrates when the tray manufacturer allows it. | webercol flex² multigel, Kerakoll H40 Gel, Pegoland® Flex C2 TE S1 | It must be deformable. It must not rigidly block the perimeter or replace the sanitary sealing. |
| Silicone or perimeter sanitary sealant | Final sealing between the tray, wall, and wall covering. Helps prevent leaks. |
Neutral sanitary silicone or sanitary sealant compatible with bathrooms.
|
Do not close the perimeter joint with cement. The seal must be continuous, clean, and flexible. |
Sikaflex®-11 FC Purform® is presented as a one-component elastic adhesive and sealant, with a movement capability of ±25% and good adhesion to multiple construction materials. Mapeflex MS45 is an MS polymer mastic with a 20% working movement and gun application. Bostik MSP Turbo is defined as an assembly and sealing adhesive with immediate grab, suitable for bonding on wet surfaces and resistant to mould and bacteria.
Regarding cementitious adhesives, options like webercol flex² multigel, Kerakoll H40 Gel, or Pegoland® Flex C2 TE S1 are presented as flexible or deformable adhesives for laying ceramic tiles and demanding substrates.
For a professional installation, the practical recommendation is clear: if the substrate is well levelled and a flexible fixing is required, a polyurethane mastic or an MS polymer is usually an adequate solution. If a more continuous bed on a mineral substrate is needed, a flexible cementitious adhesive C2 S1 can be considered, provided that the tray manufacturer accepts it.
Common mistakes when bonding a resin shower tray and how to avoid them
A durable installation does not depend solely on the chosen product. It also depends on how the substrate is prepared and how the adhesive is applied.
Application on uneven substrates
One of the most frequent mistakes is applying the adhesive on a base with unevenness, dust, old mortar remains, or poorly cohesive areas. This can generate hollow spots, lack of support, and tension under the tray.
Before gluing, it is advisable to remove residues, vacuum the surface, check the flatness with a straightedge and level, and correct irregularities with a suitable product. The adhesive should not be used to correct a poorly executed base.
In renovations where the space is not perfectly square, it may be necessary to adjust the tray. In that case, it is convenient to check mcbath's content on how to cut a shower tray, especially if working with custom-cut trays.
Excess or lack of bonding material
Applying too little adhesive can leave areas without contact. Applying too much can cause unevenness, overflow, or interference with the valve. In both cases, stability is compromised.
When using mastic or MS polymer, the beads must be regular and well distributed. The zigzag application helps to cover the surface without concentrating the product in a few spots.
When using flexible cementitious adhesive, the thickness, open time, and trowel recommended by the manufacturer must be respected. The goal is not to fill defects, but to create a stable, uniform support compatible with the tray.
Levelling problems, tension, or hollow spots
A poorly levelled tray can lead to water accumulation, movement, noise when stepped on, or loss of watertightness. Even if the tray has internal slopes towards the drain, the base must be correctly prepared.
It is also necessary to prevent the tray from being compressed against walls or partitions. The perimeter must allow small movements and must be sealed with a flexible sanitary product. This joint is essential to prevent leaks and reduce tension.
In tray installations, it is also important to take care of handling. mcbath has Lifter, a tool for tilting and installing shower trays, designed to facilitate the work of the installer and renovator.
Installation recommendations to improve adhesion, stability, and durability
To install a resin shower tray with guarantees, we recommend following a clear methodology:
- Prepare the base
The substrate must be clean, dry, stable, and level. If there are unevenness, they must be corrected before placing the tray. - Perform a dry test
Presenting the tray before gluing allows verifying measurements, squares, drainage height, and valve position. - Choose the adhesive according to the substrate and system
For levelled bases, a polyurethane mastic or an MS polymer can offer a flexible and resistant fix. On regular mineral substrates, a C2 S1 cementitious adhesive can be considered if the manufacturer allows it. - Apply the product homogeneously
Avoid isolated spots. The adhesive must be distributed regularly to ensure support, stability, and the absence of hollow spots. - Place, press, and level
Once the tray is seated, check the level, stability, and drainage. Do not force the tray against the walls. - Seal the perimeter correctly
Use sanitary silicone or a sealant compatible with bathrooms. The joint must be continuous, flexible, and clean. - Respect curing times
Do not use the shower before the time indicated by the adhesive or sealant manufacturer. This point is key to avoiding premature movements and watertightness issues.
The durability of an installation does not depend solely on the tray or solely on the adhesive. It depends on the entire system being well resolved: substrate, bonding product, levelling, drainage, and sealing. To expand on the complete process, you can link this article with mcbath's guide on how to install a resin shower tray and with the content on how to replace a shower tray step by step.
In summary; the best shower tray adhesive will be the one that combines adhesion, elasticity, compatibility with the substrate, and resistance in a humid environment. For the professional installer in Spain, working with solutions such as polyurethane mastic, MS polymer, or flexible cementitious adhesive C2 S1, always following the technical data sheet and manufacturer's recommendations, is the safest way to protect the installation's durability and reduce on-site incidents.