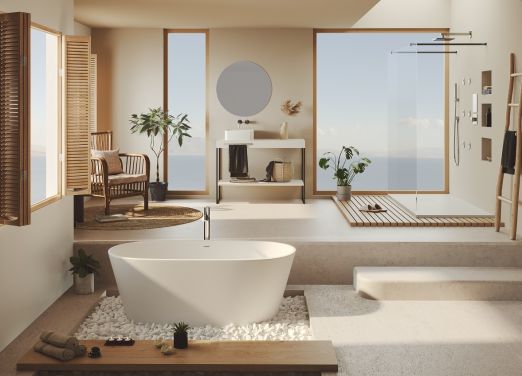
Installing a shower panel may seem like a complicated task, but with the right steps and proper tools, you can easily do it yourself. Whether you are a professional installer or a DIY enthusiast, this step-by-step guide will help you carry out the installation correctly. In addition, thanks to our high-quality material, Acrystone®, the installation can be done without drilling the wall or using screws, ensuring a quick, clean, and safe assembly. Let’s get started!
1. Materials and tools needed to install a shower panel
Before starting the installation, make sure you have everything you need.
Here’s a list of the essential materials and tools:
- Shower panel mcbath (Acrystone®)
- Recommended mounting adhesive for wet surfaces
- Spirit level
- Measuring tape
- Notched trowel (if required by the adhesive)
- Template silhouettes (if included in the package)
? No screws or drilling required.
2. How to measure and mark the location of the shower panel
The first step for a successful installation is to make sure the shower panel is properly placed. Here’s how to do it.
How to choose the ideal height for the panel
The panel’s height should be comfortable for the user. Generally, it is recommended to install the panel about 1.80 meters from the floor, although this may vary depending on the bathroom design and personal preferences.
How to use a measuring tape for accuracy
Use the measuring tape to precisely measure the height of the panel and mark the anchor points. Check that the marks are level—this will ensure the panel stays straight and aligned during installation.

Epoque shower panel
3. Installation options for mcbath panels
Several situations may occur:
Installation in new construction
In new builds, the panels are placed directly on the wall, without the need for additional tiles. The smooth, waterproof, and easy-to-maintain surface eliminates the need for coverings and reduces installation time.
Installation over existing tiles
In renovations, the panels can be installed directly over tiles or clad walls, avoiding invasive works. A specific adhesive for wet areas is used, ensuring a secure and long-lasting bond without drilling.
Advantages of this option:
- Saving time and costs by avoiding demolition.
- Clean and fast installation.
- Hygienic and easy-to-maintain surfaces thanks to non-porous materials.
- Modern and uniform aesthetics without visible joints.
Connection of pipes and faucets
Connect the pipes and faucets correctly. Make sure all connections are properly tightened to avoid future water leaks.
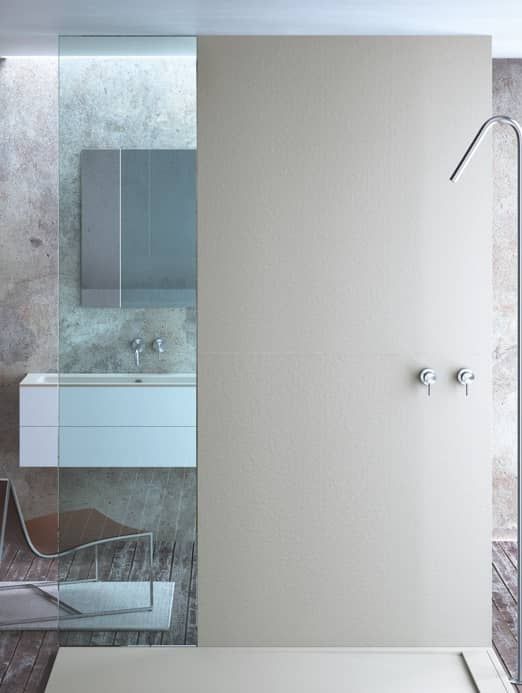
Vulcano shower panel
4. Steps to install a shower panel on the wall
Now that you have measured and marked the location of the panel, it’s time to start the wall installation.
1. Prepare the surface
Clean and dry the wall, making sure it is free from dust, grease, or any contaminant that could affect the adhesive’s bonding.
2. Apply the adhesive
Apply the adhesive on the back of the panel or directly on the wall, according to the manufacturer’s instructions. Use a notched trowel for even distribution.
3. Place the panel
Lift the panel and carefully place it on the wall. Press firmly and use a spirit level to check that it is perfectly vertical.
4. Let it dry
Wait for the adhesive to dry according to the recommended time before using the shower.
5. Sealing and protection against leaks
The next crucial step is to prevent water leaks around the panel.
How to apply silicone correctly
Apply a layer of silicone along the joints of the shower panel to ensure there are no leaks. Use a silicone gun and make sure to apply it evenly.
In addition to silicone, check that the connections are well sealed. If necessary, use Teflon tape for pipe connections.
Tips to avoid water leaks
- Check that the joints are properly sealed.
- If necessary, apply a second layer of silicone.
- Let it dry completely before using the shower.
6. Final installation check
Before finishing the installation, it’s important to carry out a final check.
Level and adhesion check
Confirm that the panel is level and well adhered. Adjust any misalignment before the adhesive dries.
Water connection inspection
Turn on the water and check that there are no leaks. If everything is properly sealed, the water should flow without problems.
7. Common troubleshooting when installing a shower panel
It is normal to encounter some setbacks during installation. Here are some quick solutions.
What to do if the panel doesn’t fit well
Check the measurements and adjust as needed. In some cases, it may be necessary to trim the panel to fit the available space.
How to fix minor leaks
If you notice minor leaks, reinforce the sealing with more silicone or check the pipe connections to ensure they are properly tightened.
8. Frequently asked questions about shower panel installation
Here we answer some of the most common doubts when installing a shower panel.
How long does it take to install a shower panel?
The installation time depends on your experience and the type of shower panel, but generally, it can take between 2 and 4 hours.
Is a professional required to install it?
If you have DIY experience, you can install the shower panel yourself. However, if you don’t feel confident, it’s best to hire a professional.
How to choose the right shower panel for your bathroom?
Consider the design, size, and finish that best suit your bathroom. Acrystone® material offers high durability, resistance, and easy maintenance.
Can it be installed over existing tiles?
Yes, mcbath panels allow direct installation over tiles, avoiding invasive works while maintaining the bathroom’s aesthetics and functionality.