Installing a shower tray without leaks does not depend solely on placing the product correctly. Prevention begins before installation: preparing the base, connecting the drain, waterproofing critical points and carrying out the final sealing.
When damp patches appear in a new-build or renovation project, the cause is often found in small details that, if not checked in time, can compromise the final result. For installers, anticipating these issues is essential: it reduces rework, improves customer satisfaction and helps guarantee a long-lasting result.
Below, we look at the key aspects to check in order to achieve a safe, durable and leak-free installation.
Why leaks appear in a poorly installed shower tray
Leaks in a shower tray usually occur when water finds an entry point in areas that should be protected: joints, the perimeter, the drain, wall connections or areas beneath the wall covering.
In most cases, they are not caused by one obvious visible fault, but by small installation details that go unnoticed during the work. An unstable base, a poorly fitted waste valve, insufficient waterproofing or incomplete sealing can allow water to seep through with daily use.
For this reason, before considering the installation complete, it is worth checking the most sensitive areas in particular:
- The joint between the shower tray and the wall.
- The perimeter of the tray.
- The connection of the drain valve.
- Corners and joins between wall coverings.
- Tile joints.
- The lower area of the shower screen.
- The base on which the tray rests.
The shower tray base: the first step to prevent leaks
One of the most important aspects of installing a shower tray is preparing the base. The surface on which the tray is placed must be stable, durable and properly prepared.
If the tray is not properly supported, stress, slight movement, cracks in the perimeter seal or misalignments in the drain connection may occur. At first glance, the installation may appear correct, but with daily use these issues eventually become visible.
Before installation, it is important to check that the surface is:
- Clean and free from dust, construction debris or grease.
- Dry and free from residual moisture.
- Levelled according to the manufacturer's instructions.
- Stable, compact and without hollow areas.
- Prepared to receive the appropriate bonding material.
The base directly affects the stability of the shower tray. That is why correct preparation from the start helps prevent movement, sealing failures and potential future leaks.
How the surface should be before placing the tray
Before placing the shower tray, the installer should check the flatness of the surface and ensure that there are no irregularities that may affect support.
It is also important to follow the manufacturer's instructions regarding the type of substrate and fixing system. Not all shower trays are installed in the same way, and not all bonding materials offer the same performance in wet areas.
A well-prepared surface helps the tray remain stable and prevents the sealing from having to withstand forces it was not designed for.
Slope and drainage: two checks before fixing the tray
Before fixing the shower tray, it is essential to check that the slope and drainage system work correctly. These two aspects determine how water is evacuated and help prevent accumulation in sensitive areas of the installation.
If the slope is not correct or the drain connection has not been properly resolved, water may collect around the waste valve, along the perimeter of the tray or at wall connections. With daily use, this accumulation increases the risk of leaks through joints, corners or poorly sealed points.
In flush-to-floor installations, this check is even more important. The result can be cleaner, more accessible and more aesthetic, but it requires precise execution: heights, slope, valve position and connection to the drainage system must be perfectly adjusted before the installation is completed.
The installer should check that:
- The water outlet has the required slope.
- The waste valve is aligned with the tray.
- There is no stress on the connections.
- Water drains smoothly.
- There are no leaks before completing the installation.
Checking these points before fixing the tray makes it possible to detect potential faults in time and avoid issues that are difficult to correct once the work has been completed.
What to check in the waste valve before completing the installation
The waste valve is one of the critical points of the installation. Before permanently fixing the tray, it is advisable to check its position, connection and watertightness.
It is important to ensure that the valve fits correctly with the tray, that the seals are properly positioned and that the connection to the pipe is not forced. Any small displacement or incorrect adjustment can cause a leak that is difficult to detect once the project has been completed.
The recommendation is clear: test before finishing. Carrying out a watertightness test at this stage helps confirm that the whole system works correctly and can prevent a much more costly problem later.
Sealing the shower tray: a final barrier, not a single solution
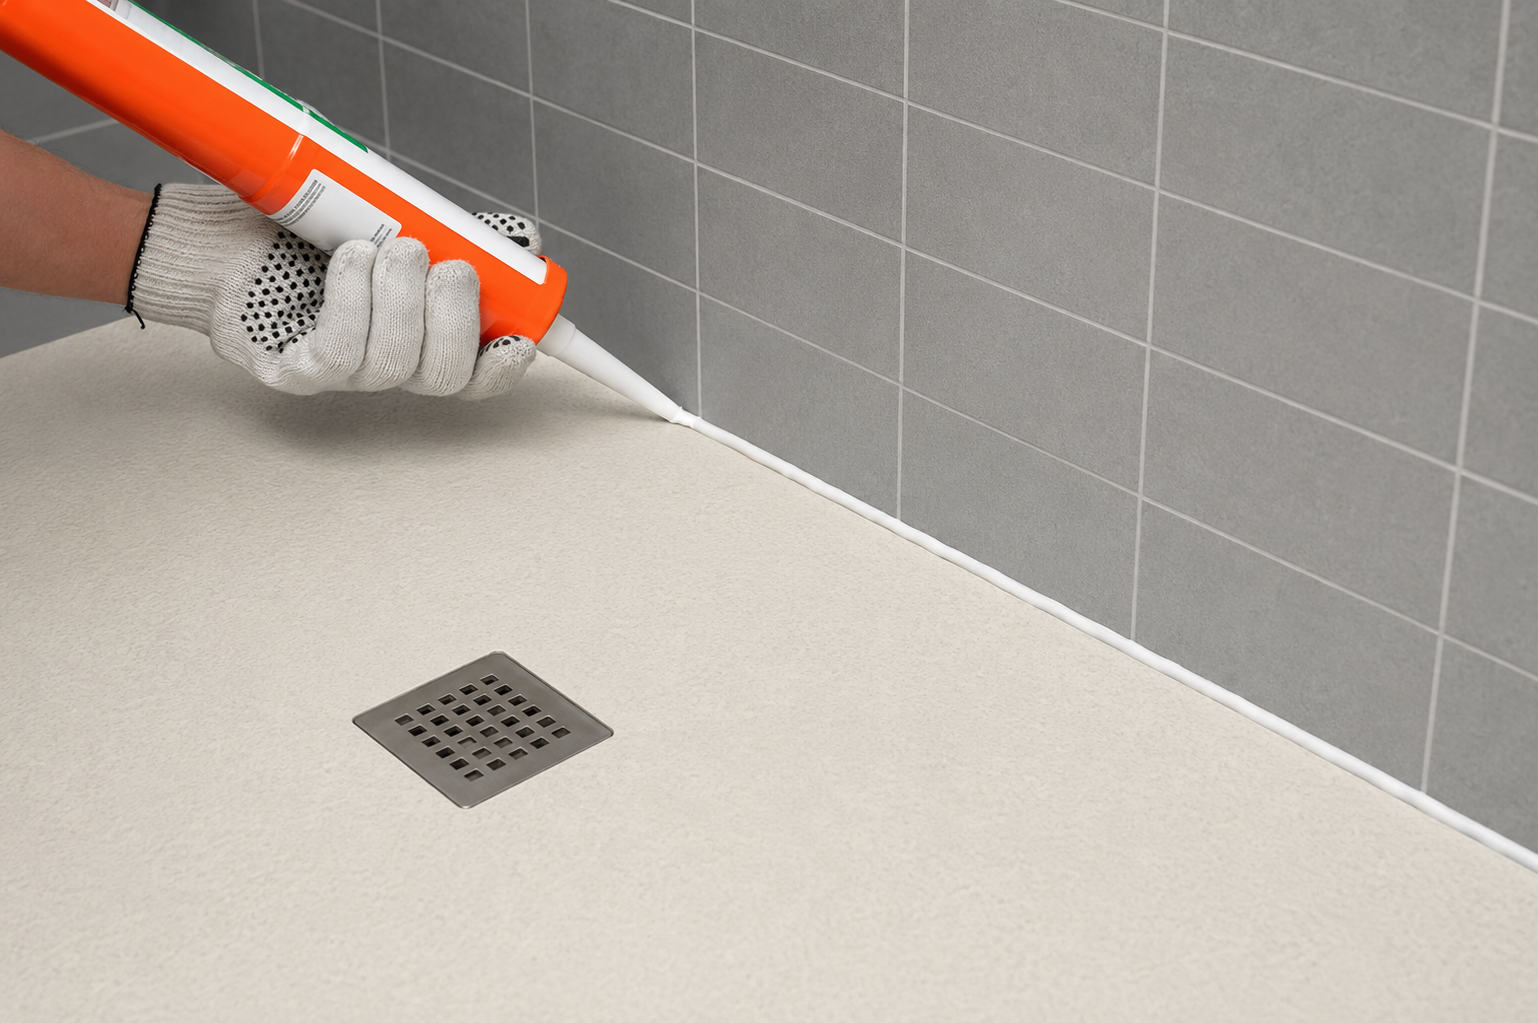
Sealing the shower tray is essential, but it should not be considered the only protection against water. Sanitary silicone or the chosen sealant acts as a final barrier, provided the previous installation has been properly executed.
In addition, for the sealant to work correctly, it must be applied under suitable conditions:
- Clean surface.
- Completely dry area.
- Product compatible with the substrate.
- Continuous application without interruptions.
- Curing time respected before using the shower.
When perimeter sealing is no longer sufficient
Perimeter sealing is no longer sufficient when the leak is not located in the visible joint, but in an area that remains out of sight. This can happen, for example, if water enters behind the wall covering, if the drain is not properly connected or if the tray moves slightly because it is not evenly supported.
In these cases, applying silicone again may improve the finish temporarily, but it does not guarantee that the issue has been resolved. To act properly, it is first necessary to locate the exact point where water is entering.
Connections and waterproofing: key areas to reinforce protection against water
The shower area is exposed to water directly and continuously. That is why protection against moisture must be properly resolved at all critical points of the installation: connections between tray and wall, changes in plane, corners, perimeter, wall-covering joints and areas close to the shower screen or drain.
Poor execution can allow water to enter through capillary action, system discontinuities or sealing failures. Even if the finish appears correct, any lack of continuity between the substrate, wall covering and tray can cause dampness with daily use.
Depending on the type of installation, waterproof sheets, reinforcement bands, liquid membranes or specific solutions for wet areas may be used. The important thing is that the chosen system is compatible with the substrate, adhesive and wall covering, always following the required overlaps, drying times and manufacturer's instructions.
Areas where water usually leaks
When a leak appears in a shower tray, it is advisable to first check the most common points:
- The connection between the tray and the wall.
- The perimeter joint.
- Internal corners.
- The waste valve area.
- Wall-covering joints.
- The connection between the shower screen and the tray.
- Pipe penetrations or other specific points.
- The lower base of the tray.
These areas account for most incidents because they combine moisture, movement, temperature changes and frequent use. They must therefore be properly addressed from the installation stage.
Watertightness test: the check that prevents later issues
Before handing over the project, it is advisable to carry out a watertightness test. This consists of applying water in the shower area and checking that it drains correctly, without visible leaks in the waste valve, connections, tray perimeter or wall joints.
This check makes it possible to detect faults while they can still be corrected easily. Once the installation has been completed, any leak may involve dismantling, claims or more complex repairs.
Basic checks before considering the installation complete
A simple check can make all the difference. Before finishing, the installer can verify:
- That water flows towards the drain without pooling.
- That the waste valve does not leak from below.
- That visible joints remain dry.
- That the perimeter seal is continuous.
- That there is no moisture around the tray.
- That the shower screen, if already installed, does not allow water to escape.
- That the user knows the waiting time before first use.
These checks do not add much time to the work and help deliver a safer installation.
How to avoid leaks in a shower tray step by step
To install a shower tray without leaks, the most effective approach is to follow an organised process and not leave any critical point unchecked:
- Check the substrate: the base must be clean, dry, level and stable.
- Check heights and drainage: before placing the tray, confirm that the installation allows correct water evacuation.
- Verify the waste valve: the connection must be aligned, properly adjusted and free from stress.
- Waterproof sensitive connections: especially corners, the perimeter, wall joints and water-exposed areas.
- Place the tray with uniform support: the tray must be correctly seated to prevent movement.
- Seal the perimeter: sealing must be carried out with a product suitable for wet areas and applied to a clean, dry surface.
- Carry out a watertightness test: before closing or handing over the project, it is advisable to confirm that there are no leaks.
- Respect curing times: using the shower too early can compromise the seal.
This method reduces the risk of leaks and improves the durability of the installation.
What a high-quality shower tray contributes to a leak-free installation
Installation is key, but the choice of shower tray also affects the final result. A high-quality shower tray makes the installer's work easier and helps reduce incidents when combined with correct installation.
At mcbath, we develop solutions designed to provide strength, durability and technical reliability in the bathroom. Our shower trays featuring Acrystone® technology are made from a composition of mineral fillers and recycled polyester resins throughout the mass, and feature an outer gel coat layer formulated to provide greater resistance and protection.
For installers, this translates into a stable, durable solution designed to perform in real projects, where every detail matters: dimensions, fit, finish, handling, maintenance and long-term performance.
Frequently asked questions about installing a shower tray without leaks
How can you install a shower tray without leaks from day one?
To install a shower tray without leaks from day one, you need to prepare the base correctly, check the drainage, connect the waste valve properly, waterproof critical connections and carry out suitable perimeter sealing. It is also important to perform a watertightness test before considering the installation complete. This makes it possible to detect potential leaks before closing the project.
Where do leaks usually appear in a shower tray?
Leaks in a shower tray usually appear around the perimeter, at the wall connection, in corners, around the drain area, in wall-covering joints or at the base of the shower screen.
When dampness appears, it is advisable to inspect these points first before applying a superficial solution.
How can you tell whether the shower tray drain is leaking?
To determine whether the shower tray drain is leaking, check for dampness in the lower area, unpleasant odours, stains near the tray or leaks on lower floors.
During installation, the best option is to check the waste valve before completing the work. A water test makes it possible to verify whether the connection is properly adjusted and whether the drainage works correctly.
What sealant should be used to prevent leaks in a shower tray?
To prevent leaks in a shower tray, use a sealant suitable for wet areas, compatible with the installed materials and resistant to daily use.
Sanitary silicone is commonly used in visible joints, but it must always be applied to clean, dry surfaces. In addition, it should not replace correct waterproofing in critical areas.
Can a flush-to-floor shower tray be installed without leaks?
Yes, a flush-to-floor shower tray can be installed without leaks, provided that the heights, drainage slope, waste connection and waterproofing of connections are correctly resolved.
This type of installation requires greater precision because there is less margin for error. That is why it is essential to carefully check the substrate and confirm watertightness before finishing.
What should you do if dampness appears after installing a shower tray?
If dampness appears after installing a shower tray, the first step is to identify the source. It may come from perimeter sealing, the drain, a wall-covering joint, the shower screen or insufficient waterproofing.
It is not advisable to simply apply more silicone without diagnosing the cause. If the problem is hidden, the dampness will reappear. The safest option is to inspect the installation point by point and correct the source of the leak.