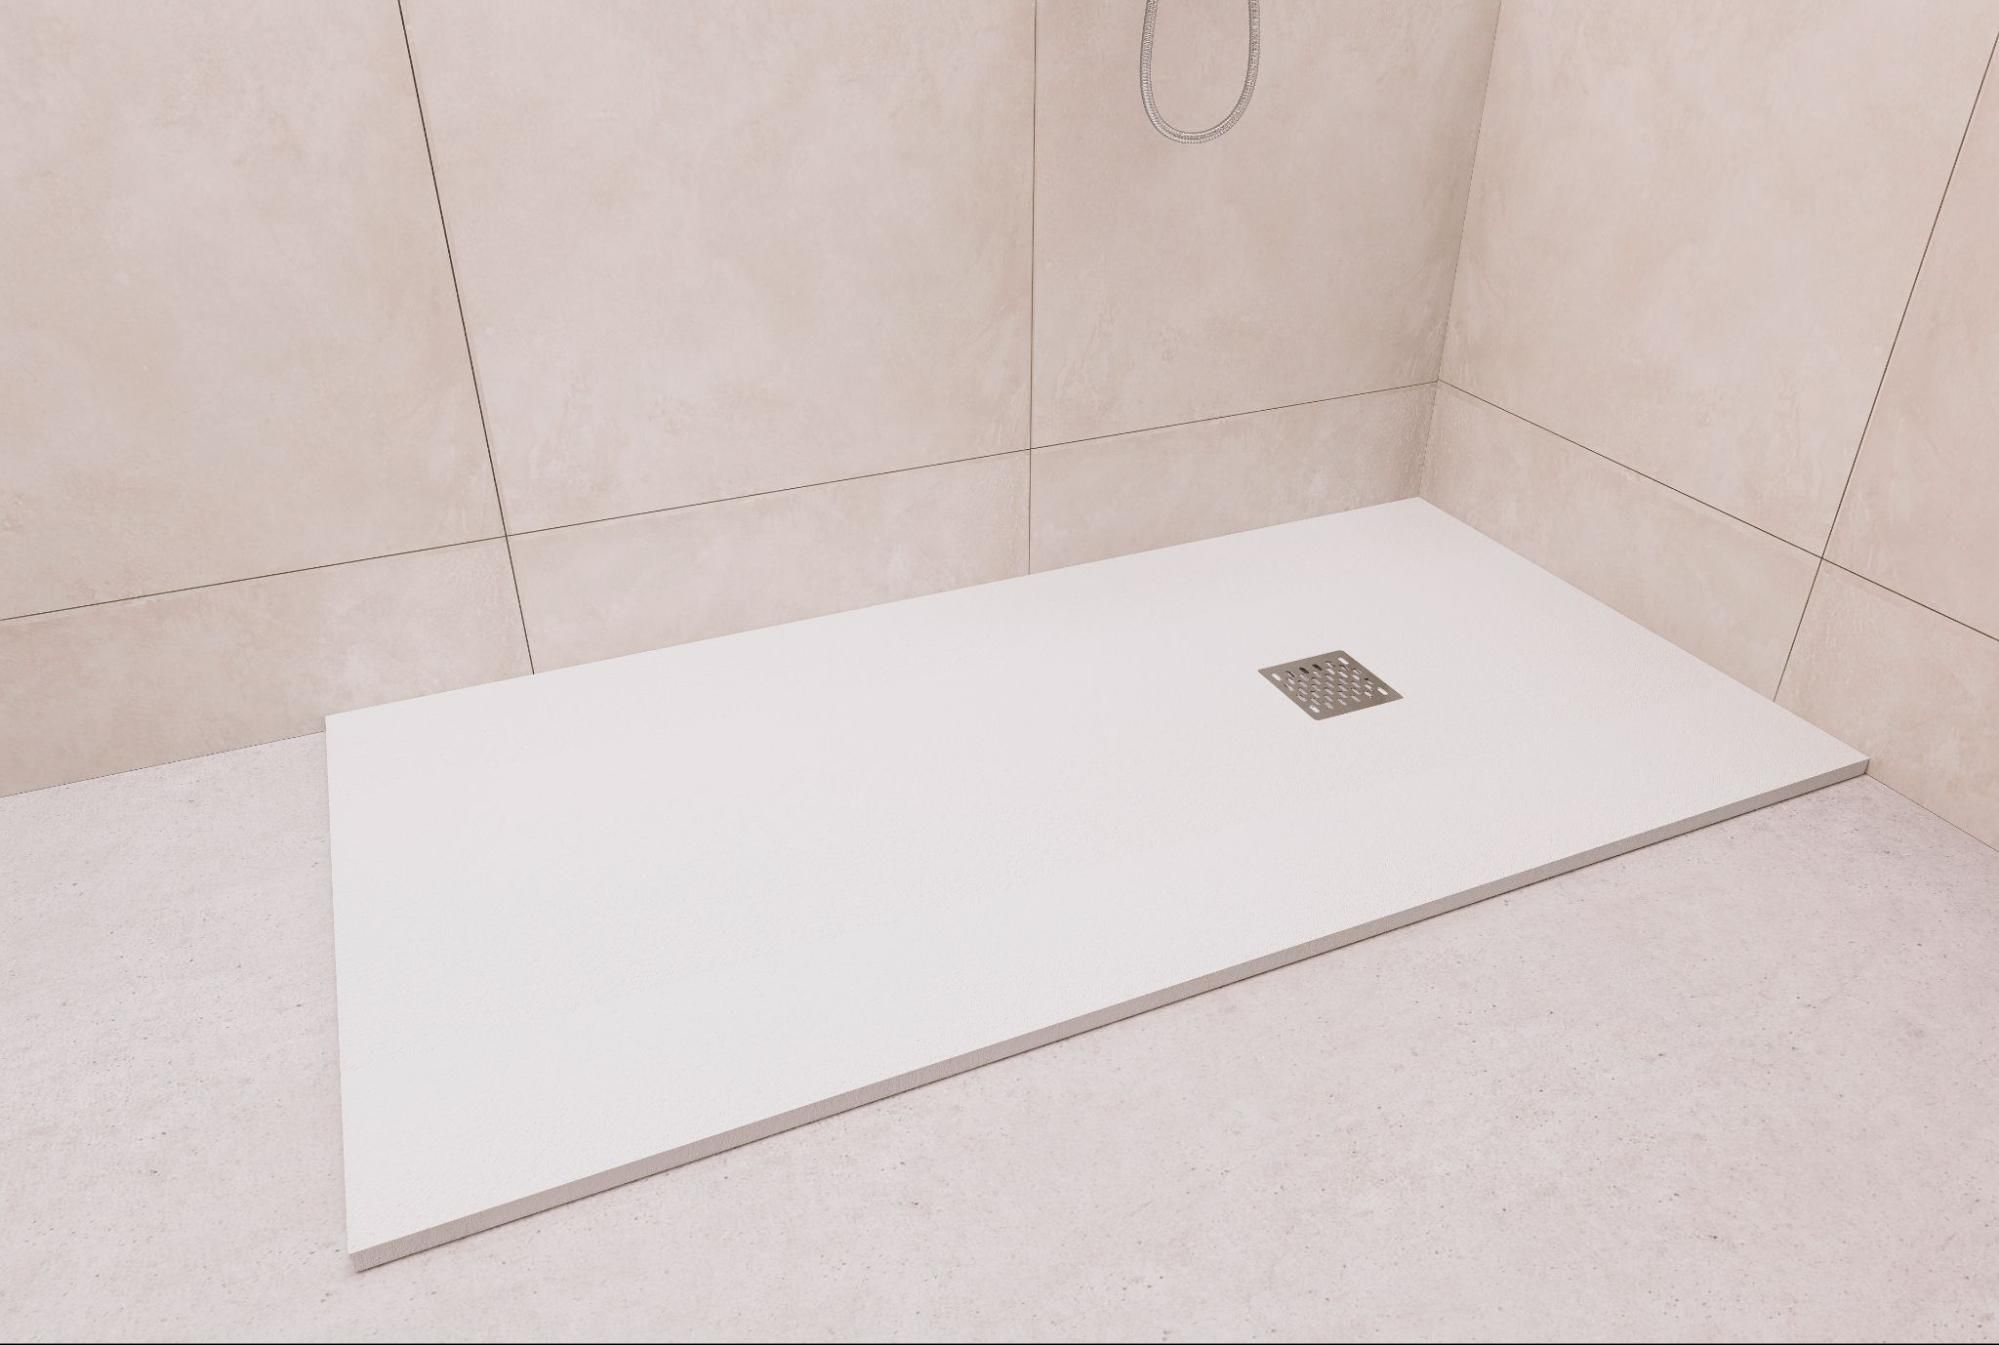
Preventing a shower tray from overflowing does not depend solely on the waste outlet. In a low-profile shower, the shower tray, its levelling, the trap, the pipe diameter, the route to the waste stack and the flow rate of the shower fittings must all work together.
For the installer, the objective is simple: identify potential issues before completing the installation. A well-planned drainage system prevents standing water, remedial work, dismantling and complaints after installation.
Why does a low-profile shower tray overflow?
A low-profile shower tray is designed to direct water towards the waste outlet, but its correct operation depends on all the components of the installation working together. Overflowing can occur when the incoming flow rate exceeds the system’s actual drainage capacity or when the water encounters a restriction along its route.
The most common causes are:
- A shower tray that is slightly out of level.
- An insufficient or interrupted pipe gradient.
- A waste outlet or trap blocked by construction debris.
- Too many bends or an excessively long connection before the waste stack.
- A shower fitting flow rate that exceeds the system’s actual drainage capacity.
- A waste outlet that is not suitable for the project configuration.
- An open shower or an incorrectly sized screen that allows water to splash outside.
It is also important to distinguish between two different situations. The first is slow drainage: water rises around the waste outlet before draining away. The second involves water escaping from the shower tray, sometimes due to an accumulation of water and sometimes simply because splashing is not being properly contained.
The correct gradient for a low-profile shower
The gradient built into the shower tray and the gradient of the drainage pipe do not perform the same function. The shower tray is designed to direct water towards the waste outlet. The pipework must then carry it by gravity to the waste stack, without retention or restrictions.
In France, the sizing of gravity drainage systems for wastewater and black water in buildings is governed, among other standards, by NF DTU 60.11 P2. This standard sets out the calculation rules for drainage networks and should therefore be considered during the project planning stage, rather than after the shower tray has been installed.
For a level-access shower constructed on a concrete substrate, the CSTB guide specifies a minimum gradient of 1% for the finished floor and waterproofing layer towards the drainage outlet. This guidance applies to showers constructed on site. For a finished shower tray, the gradient incorporated by the manufacturer must be respected, while ensuring that the connection to the drainage system maintains a continuous fall.
The objective is not to create an excessive gradient beneath the shower tray, but to avoid areas where water slows down, remains standing or backs up. A well-prepared installation allows each component to perform its function without compromising the final height of the shower.
Levelling errors that can cause water to accumulate
A slight levelling issue may be enough to prevent water from reaching the waste outlet correctly. Water may then remain in an area away from the outlet or flow towards the edge of the shower tray.
The most common errors include:
- An uneven installation surface.
- Mortar or fixing material distributed unevenly beneath the tray.
- Checking the level in only one direction.
- A forced connection between the waste outlet and the drainage pipe.
- A shower tray that is not adequately supported across its entire surface.
Before the tray is permanently fixed, check the level in several directions. Then carry out a water test to confirm that the water naturally follows the tray’s gradient towards the waste outlet.
Shower fitting flow rate and drainage capacity
The flow rate of the shower fittings must be compatible with the drainage capacity of the waste outlet, trap and pipework. A large shower head, high mains water pressure or high-flow fittings can overwhelm an installation that initially appears to be correctly configured.
The NF EN 274 series of standards applies to waste fittings for sanitary appliances. Part 2 includes test methods relating to flow-rate measurement and watertightness. In practice, this highlights that a waste outlet should not be selected solely according to its dimensions or compatibility with the shower tray: its performance must also be suitable for the project.
Before handing over the project, run the shower fittings at their actual operating flow rate and observe the shower’s performance for several minutes. Check:
- That the water does not rise around the waste outlet.
- That water does not remain standing in the shower tray.
- That drainage remains stable when the water jet does not fall directly onto the waste outlet.
The flow capacity of the waste outlet and drainage system must be suitable for the actual flow rate of the shower fittings to prevent the system from becoming overloaded. During installation, also provide easy access to the waste outlet so that it can be inspected, cleaned and maintained without major work on the shower tray or surrounding finishes.
How to plan an efficient drainage system
A reliable drainage system must be planned before the shower tray is installed. During renovation projects, the position of the waste stack, the available floor depth and the existing pipe route directly determine whether a low-profile shower can be installed.
Choose the shortest and most direct route possible to the waste stack. Reduce unnecessary changes of direction and avoid any backfalls. Every bend, forced connection and excessively horizontal section can slow drainage and make future maintenance more difficult.
Before installation, check:
- The available height between the waste outlet and the existing drainage pipe.
- The internal diameter of the connecting components.
- The continuity of the gradient along the entire route.
- The position and accessibility of the trap.
- The compatibility of the waste outlet, shower tray and drainage system.
- The expected flow rate of the shower fittings.
A neat installation is not only one that remains discreet. It is also an installation that remains accessible whenever inspection, cleaning or maintenance is required.
What should be checked when installation height is limited?
Limited installation height is common when replacing a bathtub with a shower. The customer often wants a very low shower tray or even a visually seamless transition from the bathroom floor. However, there must still be enough space to install the waste outlet, trap and drainage pipe correctly.
Before confirming the proposed solution, assess the available height, the length of the connection and the number of changes of direction that are genuinely required. Also check whether the pipe route can maintain a consistent gradient to the waste stack.
It may be preferable to raise the final height of the shower tray slightly rather than reduce the gradient, compress a connection or remove all access to the trap. A difference of just a few millimetres can determine whether the shower remains reliable over time or begins to cause problems from its first uses.
In a low-profile shower project, the priority is always the same: achieving smooth, reliable drainage without compromising waterproofing, user comfort or future maintenance.
Checklist before completing the installation
Before handing over the project, take a few minutes to check the following:
- The shower tray is stable, properly supported and perfectly level.
- The built-in gradient correctly directs water towards the waste outlet.
- The waste outlet, trap and pipework contain no construction debris.
- The connection has no backfalls.
- The pipework maintains a continuous gradient to the waste stack.
- The route is as short and straightforward as the configuration allows.
- The waste outlet remains accessible for cleaning and maintenance.
- The shower fittings have been tested at their actual operating flow rate.
- Water does not rise around the waste outlet.
- The shower screen or configuration properly limits splashing.
- The perimeter seals and connections are checked before the final finishes are completed.
This final check should reproduce actual conditions of use. It is not enough to confirm that the water drains away: the system must continue to operate reliably at the flow rate, pressure and jet position planned for the project.
What should you do if a shower tray is already overflowing?
Begin with the simplest checks. Remove the grate, clean the waste outlet and inspect the trap. Residues of silicone, adhesive, plaster or construction dust can significantly reduce drainage capacity.
Next, observe where the water accumulates. If it rises around the waste outlet, the problem may be caused by a blockage, a clogged trap or insufficient drainage capacity. If the water remains in an area away from the outlet, the cause may be a levelling issue or inadequate support beneath the shower tray.
When the problem only occurs with a large shower head or at a high flow rate, check the compatibility between the shower fittings and the drainage system. If drainage remains slow after thorough cleaning, inspect the pipe route, bends and actual gradient to the waste stack.
Acting quickly helps prevent more serious consequences: water infiltration, deterioration of seals, remedial work to surrounding finishes or removal of the shower tray.
A correctly installed low-profile shower tray should provide smooth, reliable and trouble-free drainage. At mcbath, we design solutions that meet the real demands of installation projects. To select the right shower tray or assess a complex drainage configuration, rely on the support of our team.